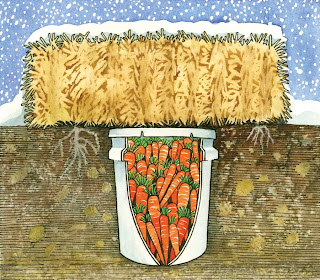
We're edging into the Winter months, but Spring is on the mind for those who are looking ahead at gardening and planting time, so here's some tips to keep in mind when growing your crops this coming up 2013 year for saving seeds for the future. You can save $ money $ and can make a little, too!

7 Reasons to Save Seeds:
- Money Savings. When you buy seeds, invest in high-quality seeds for the first planting, then you will have high quality seeds in a much higher volume to save, thus saving you more money in the long run.
- Seed Security. Instead of industry corporations who have discontinued some varieties of seeds to sell lucrative hybrid seeds, saving your own seeds gives you seed security in the fact that you control the supply of the seed variety you chose to plant, especially now hard to find seeds that aren't always available in the catalog (perhaps offer extra seeds to sell to other interested gardeners thus making you more money).
- Regional Adaption. When you save seeds grown on your land and in your climatic environment, you are developing over time, better adapted varieties best suited to your soil and climate conditions and growing practices.
- Consistent Quality: Corporations use open pollination in their seed crops, which means that their seed packets may contain several off-type seeds because they rarely rogue their fields for bad or poorly growing plants, which then pollinate and add to the seed crop. In saving your seeds and doing the picking, cleaning and hoeing yourself, you pull out the suckers, the weaker plants, etc and thus provide a more consistent pollination to your own seed crop that has better quality seeds each time you plant.
- The Joy of Learning. The more seeds you save the more you learn about botany and the plant kingdom, this is a great thing for kids to get into especially for science projects!
- Explore Heirloom Varieties. Some people like to grow heirloom varieties because doing so gives them a connection to our garden heritage, others choose non-hybrid seeds because they don't want to support the industrial Agriculture system that is increasingly controlling our food supply and some older, open-pollinated varieties produce more nutritious crops than do modern hybrids bred mostly for high yields and long shelf life.
- Influence Crop Traits. Gene pools are incredibly elastic. By carefully observing your plants, you can save seed from those plants that best meet your needs for germination, ripening time, yield, specific fruit shape, flavor, storage, qualities, less seediness, better disease resistance, bloom color, or other unique trait within the variety of plant. Over time, most of the plants you grow from your saved seeds will end up having the desired traits you like.
Seed-Saving Tips
- Always choose OP (Open-Pollinated) varieties for seed saving, these are non-hybrid plants with seed that's true generation after generation. (Self & Cross-Pollinating plants are OP)
- The easiest crops to save seeds from are: peas, beans, tomatoes, and peppers (Self-Pollinators).
- Cross-Pollinating crops need to be isolated from other varieties of the same species. The simplest solution is to grow only one variety of a given species and you can just save seeds from one or two plants, but to maintain long-term health and vigor, you should buy new seed every few years or trade seeds with other growers. Cross-Pollinating crops to save seeds from are: brassicas, corn, carrots, beets, squash, cucumbers, and melons.
- Soak "wet" seeds, like Tomatoes and Squash which have a gel sac around the seeds that prevents germination, in order to remove the sacs and dry on a screen.
- Seed crops are often harvested at different times than food crops, in order to keep your garden organized and track of which crop you want for seed, mark off the row with a ribbon or tie or other marker that you will know means a seed crop.
- Flower heads are usually harvested as they dry.
- Using screens as filters or rubbing seed pods between your hands is a couple ways to remove chaff from the seed.
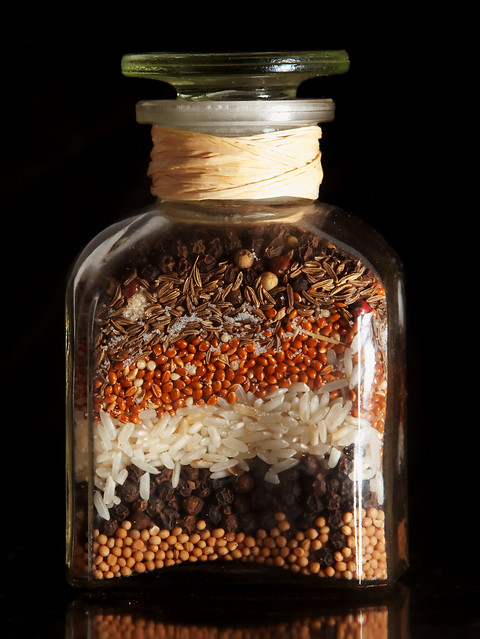
- Store seeds in glass jars, plastic bags or paper envelopes. Though glass is always best as it prevents moisture from getting to the seeds. (I have used baby food jars for small amounts of seed saving, but they are thoroughly washed, sterilized and dried before putting in the seeds).
- Store seeds in a cool, dry place, ideally at less than 50 degrees Fahrenheit and at a relative humidity level of less than 50 %. In general, for every 10 degrees colder the storage conditions, seed longevity doubles, so it's best to keep seed in a covered container in a refrigerator. As long as the seed is very dry, it will last longest if you keep it in a freezer. All seed should be dried to a brittle state, ideally less than 14 % moisture (so ice crystals don't form on the seeds while in a freezer). When you're ready to use freezer stored seeds, allow the storage jar to come to room temperature before opening it to avoid condensation on the seed.
Cite:
**(Information acquired from Mother Earth News Magazine, December 2012/January 2013 edition, Article " Saving Seed 7 Reasons Why and Dozens of Tips for How" by Roberta Bailey pgs 38-44 )**